

|
|
|
|
|
|
|
Contents |
Void Check is one option that may be used when one or more checks need to be voided.
Void Check may also be used to make adjustments to deductions, benefits and gross amounts.
It is important to follow these steps before using Void Check:
Make sure that no other payrolls are currently being run. Manual Check and Void Check processes will not run while a payroll process is running.
The Void Process allows the user the flexibility of using different Payroll, Retirement, and Budgetary posting dates from the original check. If different dates are needed (i.e. state/federal reports were already filed and you do not wish to alter those past records), use the Void Check process instead of Quick Void.
If the Void Check consists of:
the exact same values as the original check (reverse sign); and,
the Payroll and Retirement posting dates are the same for the void as for the original check; then,
you may want to consider using the Quick Void process versus the Void Check process as it does not require entry of amounts.
There are six steps to the Void Check Process:


I. SElect: Select the check or checks to be voided.
Click Human Resources.
Click PAyroll.
Click Void Check.
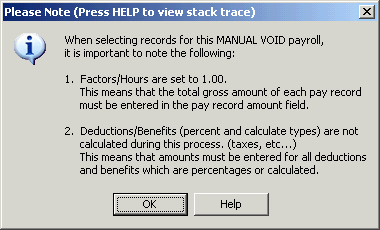
Click SElect, which opens the screen, Selected for Payroll Run Number: MVOID / MANUAL VOID and the following Informational Note pop-up box.

Click OK, to close the Note box.


Click the Indiv. Select box and select the employee.
Select the active Pay Record and click the Chg/Sel box.
Enter Pay, Deductions and Benefits information.
Click OK.
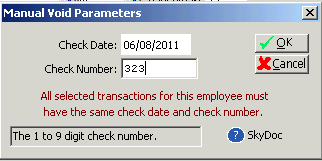
Enter Check Number in the pop-up Parameters box and click OK.

Click Close.
Click OK to close the pop-up Selection Information box with record totals.


II. Process: Pre-Verify.
If desired, select a Pre-Calc Verification Report to run and click Close when done.
Check one of the following reports:
Employees Not Being Paid (Missing from Payroll)
Omitted Deductions/Benefits
Current Payroll Audit
Current Payroll vs. Historical Payroll Audit
Project/Grant Report
Run Individual Reports for Pay/Deduction/Benefit Totals
Click CLOSE after making your selection.
Select from additional parameters and print options and create the report.


III. CAlculate void check(s).
Click OK to process the selected checks.
Enter the desired Processing Parameters.
Click OK to accept parameters.
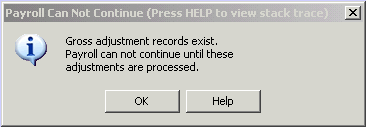
The pop-up message "Payroll Can Not Continue" appears when the process is finished and verification of Gross Adjustments is needed.


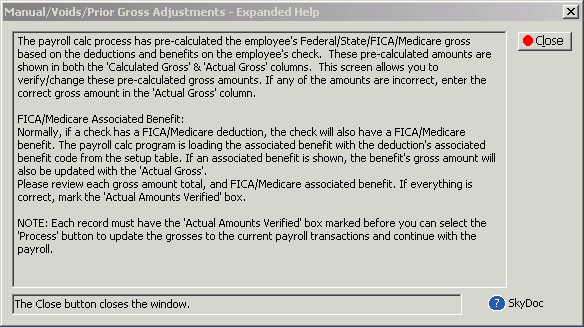
Additional help is available on the Gross Adjustments screen.

Check Actual Amounts Verified and click Close, and then click Process.


IV. Post vErify: Select from a variety of post-calculation verification reports.
Check one of the following reports:
Check Summary (Gross and Net Amounts)
Check Summary (Net Amounts Only)
Employees Not Being Paid (Missing from Payroll, with option to print Social Security number on report)
Omitted Deductions/Benefits
Labor/Benefit Distribution Report
Summary Totals for Pay/Deduction/Benefit Codes
Account Breakdown for Deduction/Benefit Codes (with option to print Social Security number on report)
Direct Deposit Report (Lists Non-Ach Deposits)
Check Verification Register (Showing pay detail, deduction/benefit totals)
Run Individual Reports for Pay/Deduction/Benefit Totals
Click CLOSE after making your selection.
Select from additional parameters and print options and create the report.


V. Chk Regstr: Create Check Register Reports.
Click OK to get the Process Check Register screen.
Click Run to run the Check Register report set.
HINT: Select Save Report to run all of the reports at once, and then review the results in the Saved Rpts area (HR\SR).
The message "Check Register Processing is complete" appears when the process is finished.


VI. UPdate: Update salaries, benefits, and deductions to your budgetary and payroll files.
Click Run to process the payroll update.
The Updates Processed display shows which programs have been updated, with the start and end times.
The message "Payroll update is complete" appears when the process is finished.
Page Updated 11/2011